With security being such an important piece of everything we do online, it’s important for you, and your site visitors, to feel safe when they are visiting your site, whether the goal is to purchase something or, simply, read a blog post. With this post, I’ll lay out a quick how-to which will demonstrate how to force HTTPS redirect automatically using cPanel.
HostDango.com provides Linux hosting on operating systems such as CentOS, which uses a file called .htaccess to handle redirection on a per-account basis. Since accounts aren’t provisioned with an .htaccess file by default, I’ll also go over how to create one, using cPanel’s built-in File Manager.
Accessing the File Manager
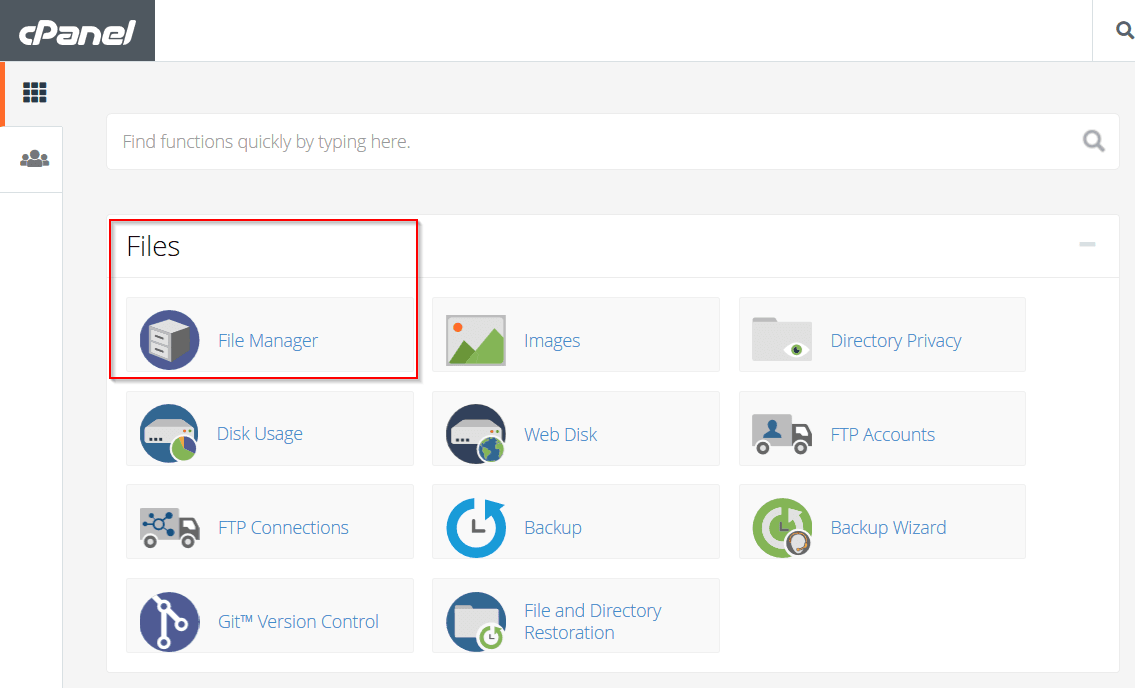
In order to force HTTPS redirect automatically, there are a few steps you need to take. First things first. You can edit your files directly from your web browser, without having to upload them via S/FTP. In order to access your File Manager, you need to first log in to your cPanel account. Once logged in, click Files -> File Manager. The File Manager is a graphical tool for managing your files, much like Windows Explorer. As you’ll see, the File Manager is easy to use and very intuitive.
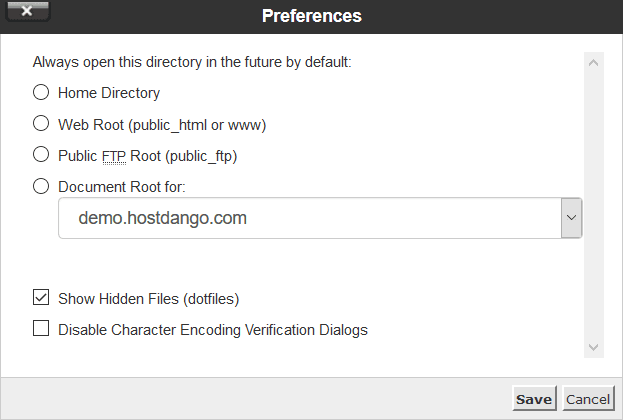
Once you’ve managed to navigate into your File Manager, you’ll need to make sure you can see hidden files. Because the .htaccess file is hidden by default, we’ll want to be sure to turn this option on (this is why we see the dot in front of ‘htaccess’). The steps to accomplish this are quite simple. In the upper-right corner of your screen, click SETTINGS, and in the dialogue box that appears in the center of the screen, tick the box for “Show Hidden Files (dotfiles)”. It’s literally that easy.
Now, on the left column (in the image below), expand home -> public_html. When you do this, you should see your files in that directory appear in the right column. One of them may, or may not, be your .htaccess file! Don’t worry if you don’t see it in the right column! Creating the file itself in the File Manager is very easy and I’ll show you how in the next section.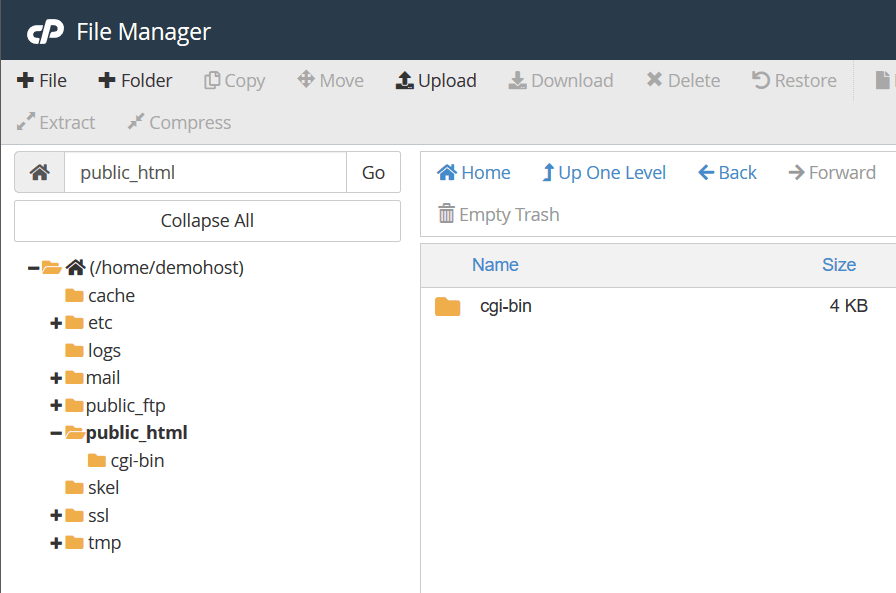
Creating the File
If you don’t see an .htaccess file, like in the image above, we’ll create one here. To create an .htaccess file in your File Manager, click “+File” in the upper-left corner. As a result, you’ll be presented with a dialogue box to name the file and select the folder you wish it to go into. Simply name it .htaccess and leave the default /public_html box alone.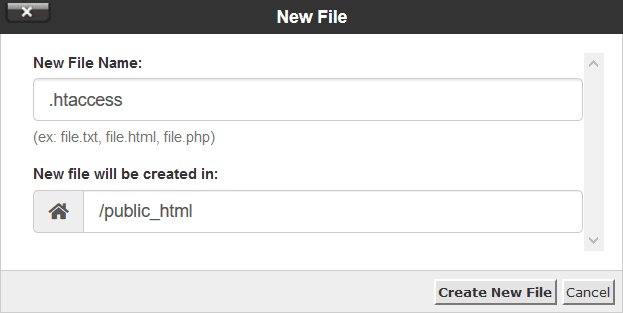
I need to put an emphasis here on the fact that that you should leave the path /public_html if your web site lives in public_html. The proper placement for the .htaccess file is in the root of your web site. If your web site lives in /public_html/web, that would be the place to place your .htaccess file. Because we created the file in public_html, this is where we defaulted to for the path in the image above. You can click the home icon to change the path, or you can edit it manually by typing in a path.
Since we now know we can actually see the .htaccess file, you can click it with your mouse. When you click the file name, it should highlight to a different color (light blue in this case). You can click the Edit button above the list of files, as seen in this image: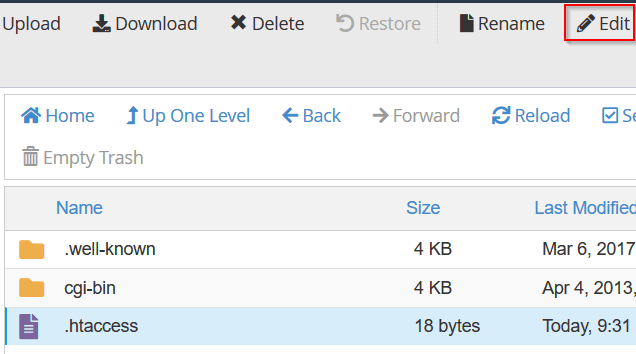
Force HTTPS Redirect Automatically
Once you’ve got the file open (it will open into a new browser tab or a new browser window, depending on your settings), your next step is to insert the actual code to perform the redirect. You can literally copy and paste this code to your .htaccess file:RewriteEngine On
RewriteCond %{HTTPS} off
RewriteRule ^(.*)$ https://%{HTTP_HOST}%{REQUEST_URI} [L,R=301]{cur,new}
The end result? You’ve managed to force HTTPS redirect automatically for all of your web traffic! We would like to hear if you’ve got a different way that you prefer to do this! If you have questions for us, please drop us a line!
